Use the floor shape to choose your next movement
Before starting a long attack or charge, look for the next painted area and choose where you will finish moving. A wide sector needs an unpainted wedge; a narrow lane needs a sideways exit; a circular landing mark needs space away from its centre. Resume attacking when that local hazard has resolved and you can see the next one.
The examples below come from recorded story encounters and the Epilogue 1 swamp. The recording begins in Steam PC v1.0.0; the source was uploaded August 31, 2026. The response steps are author recommendations based on visible patterns, not a claim that the player executed every response perfectly. In fact, several examples show damage taken.
- Identify the shape and its direction before committing to an attack.
- Move toward an unmarked destination; use an available movement action if walking will not clear it.
- Check that destination for a second overlapping warning.
- Attack again after the local hazard resolves, and stop for the next warning.
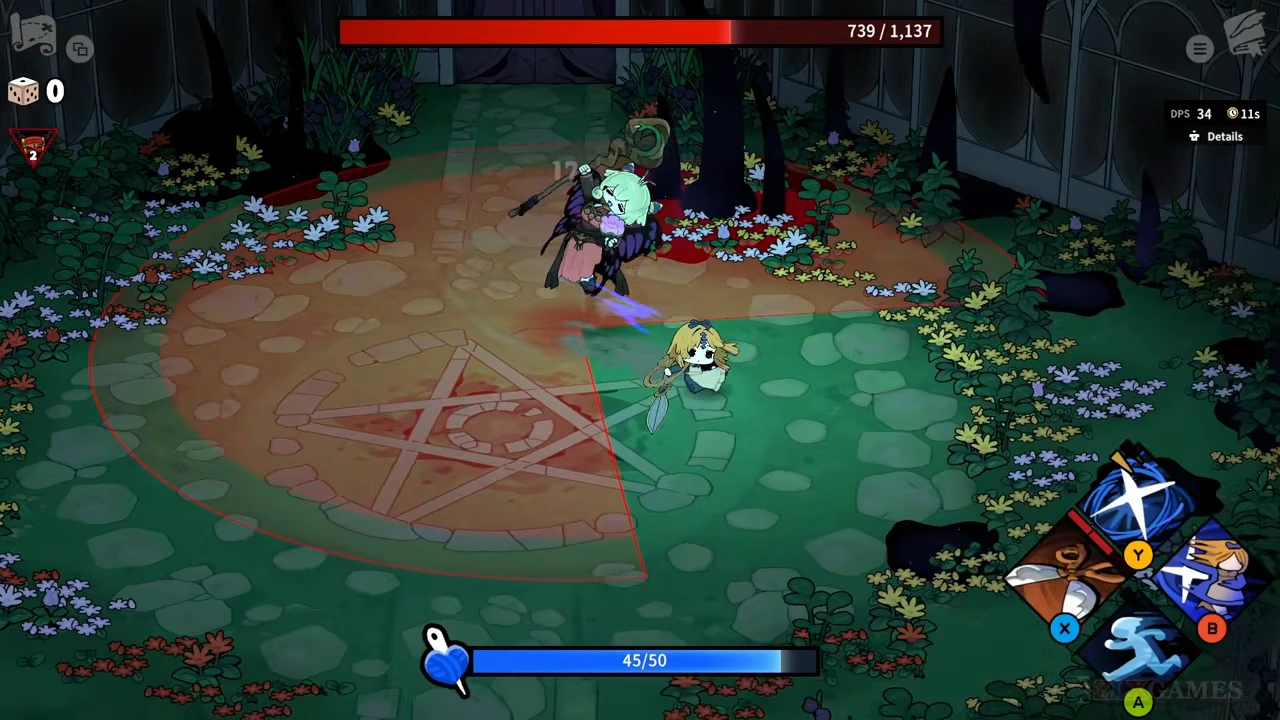
Fiena: take the gap in the wide sector
Fiena’s early greenhouse fight shows purple projectiles and a broad red sector around her. At 07:34, an unpainted wedge remains beside the player while most of the nearby circle is red. The opening is a specific destination; running farther into the painted part to finish a combo is the wrong priority.
Move into the unpainted wedge or clear the outer boundary, then check for the next purple attack before closing again. Do not assume the same corner stays safe throughout the encounter: the recording also shows projectile spreads and another area effect after the sector.
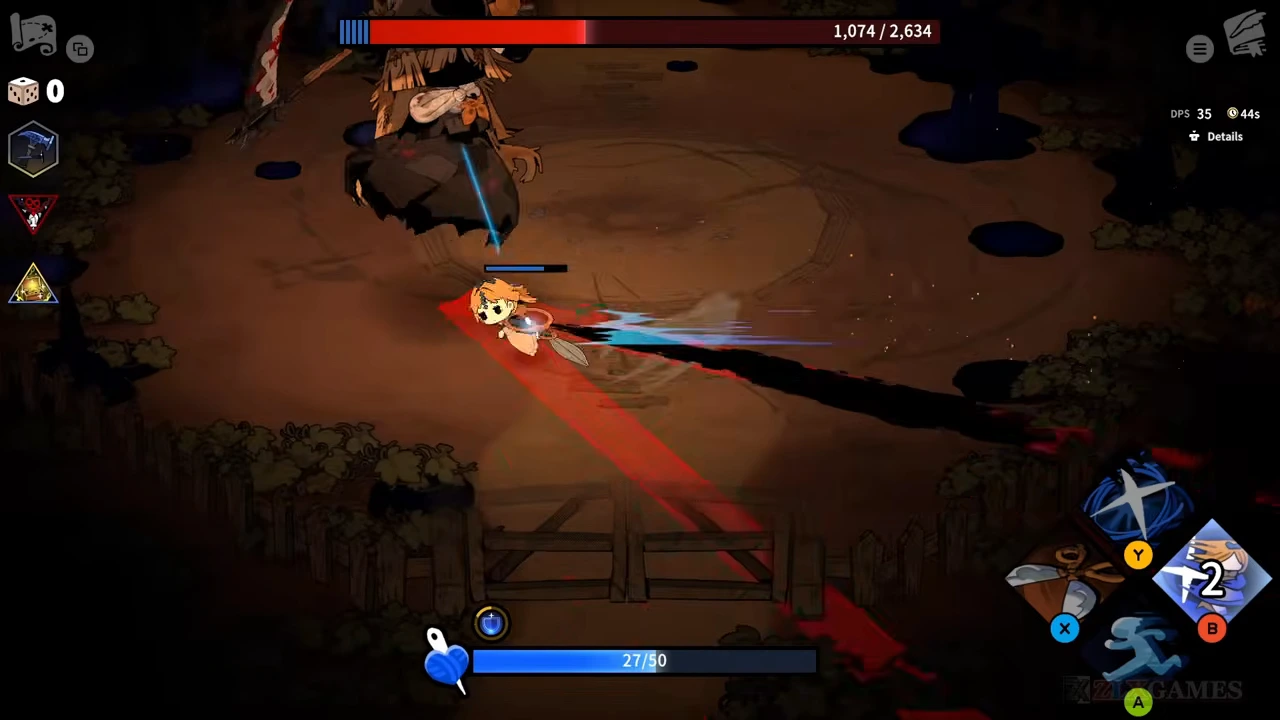
Abigail: distinguish the broad sweep from the straight lane
The farm fight alternates broad red sweep areas with a much narrower straight warning. The 14:14 image shows the narrow lane while a movement trail crosses the scene. Earlier frames show the broader sweep reaching around Abigail; the same escape direction does not solve both shapes.
For a narrow lane, leave across its short side instead of travelling down its length. For a broad sweep, move to the unpainted side or outside its reach. After moving, recheck the floor before committing to another attack: the recorded sequence can follow one warning with another.
The movement effect in this image is not proof of a particular input or an invulnerability window. Use the movement control available in your own loadout rather than copying a button from this captured build.
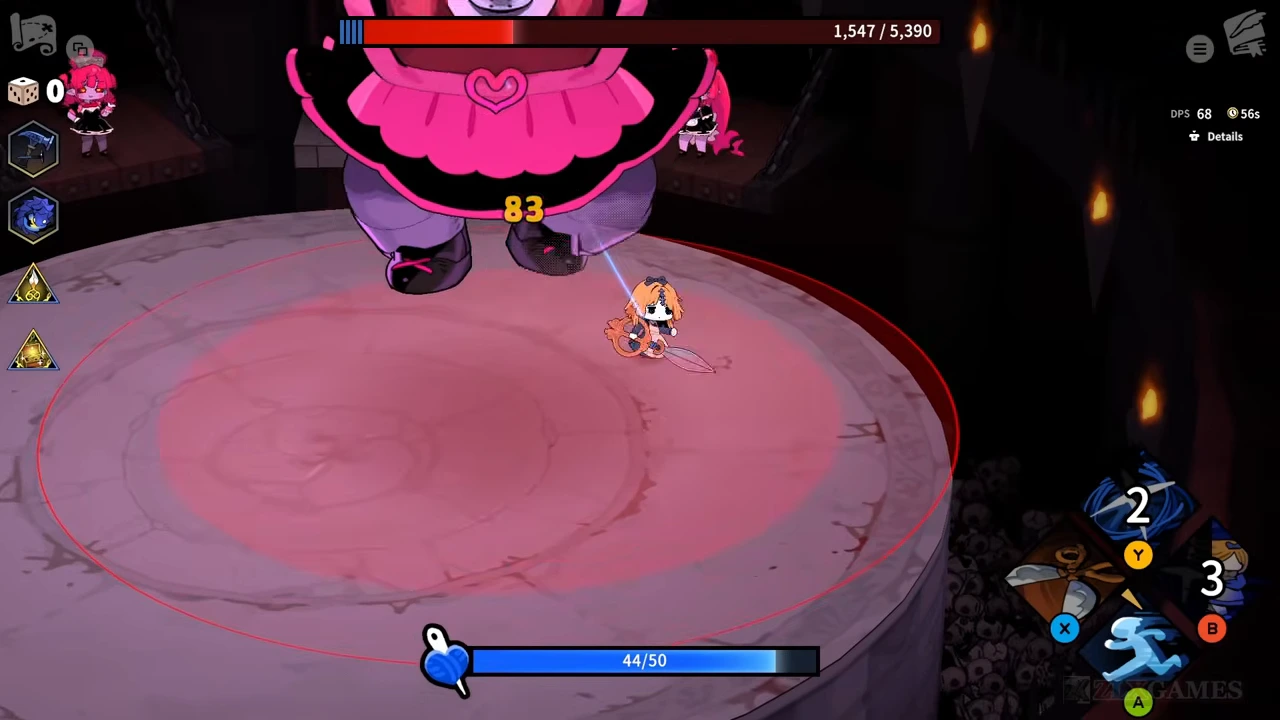
Rims and Berry: leave the large doll’s landing mark
In the recorded doll arena, the large pink body rises above a red circular landing area. At 23:58, Sil is still inside that marked circle. A later sequence adds red projectile impacts while the large body continues moving, so watching only the large doll can hide another hazard.
When the circle appears, stop extending your attack string and leave the marked landing area. Keep the smaller attackers and incoming red effects in view during the move. Return for damage after the landing resolves, using the next visible warning to decide when to disengage again.
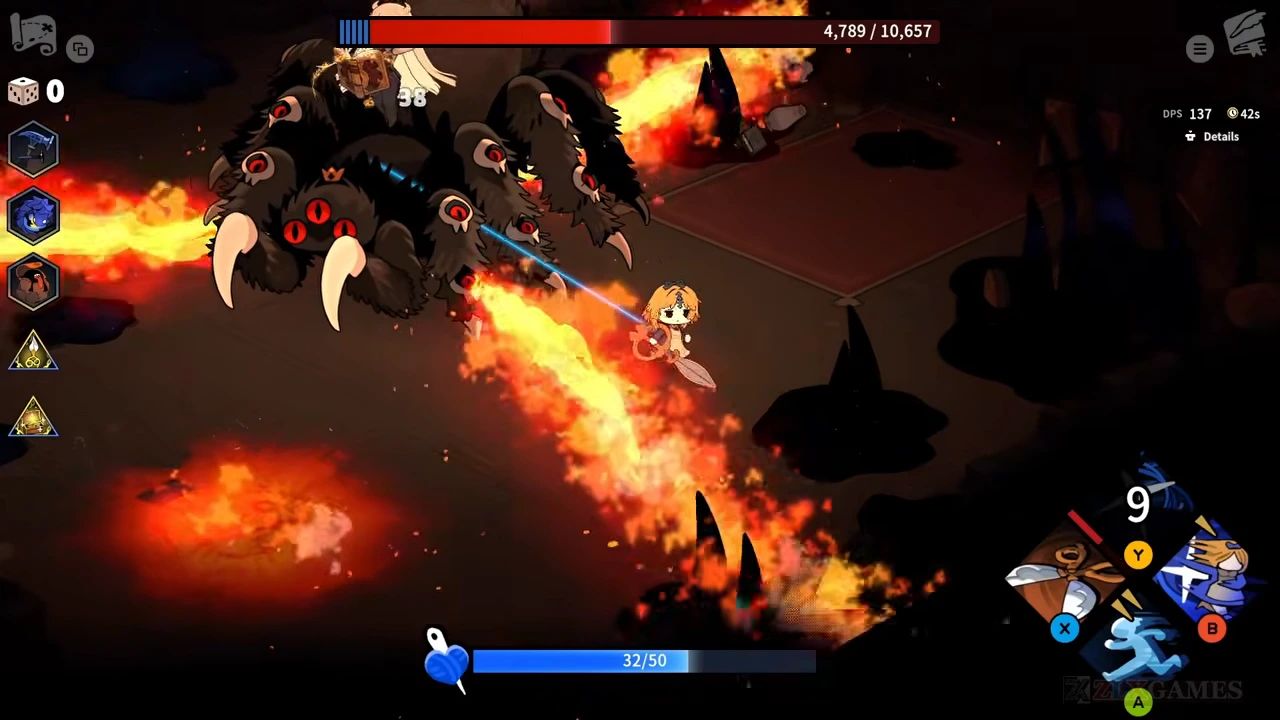
Chloe: leave room to move between the fire bands
Chloe’s many-eyed creature uses circular warnings and then sends several bands of fire out from its body. The 34:34 image shows those bands dividing the available floor. Earlier in the same encounter, red ground marks and pale web-like patches already occupy parts of the arena.
Avoid settling against a wall or obstacle while you attack. When fire bands appear, choose an open space between them and keep watching their position. If your current gap is closing, move before starting another long charge or channel. After the bands pass, approach only as far as you can still leave for the next circle.
This is positioning advice based on the recorded pattern, not a claim that the pictured player avoids every hit. A high damage number does not make the adjacent fire harmless.
Nahatra: reset your route when rings become crossing lines
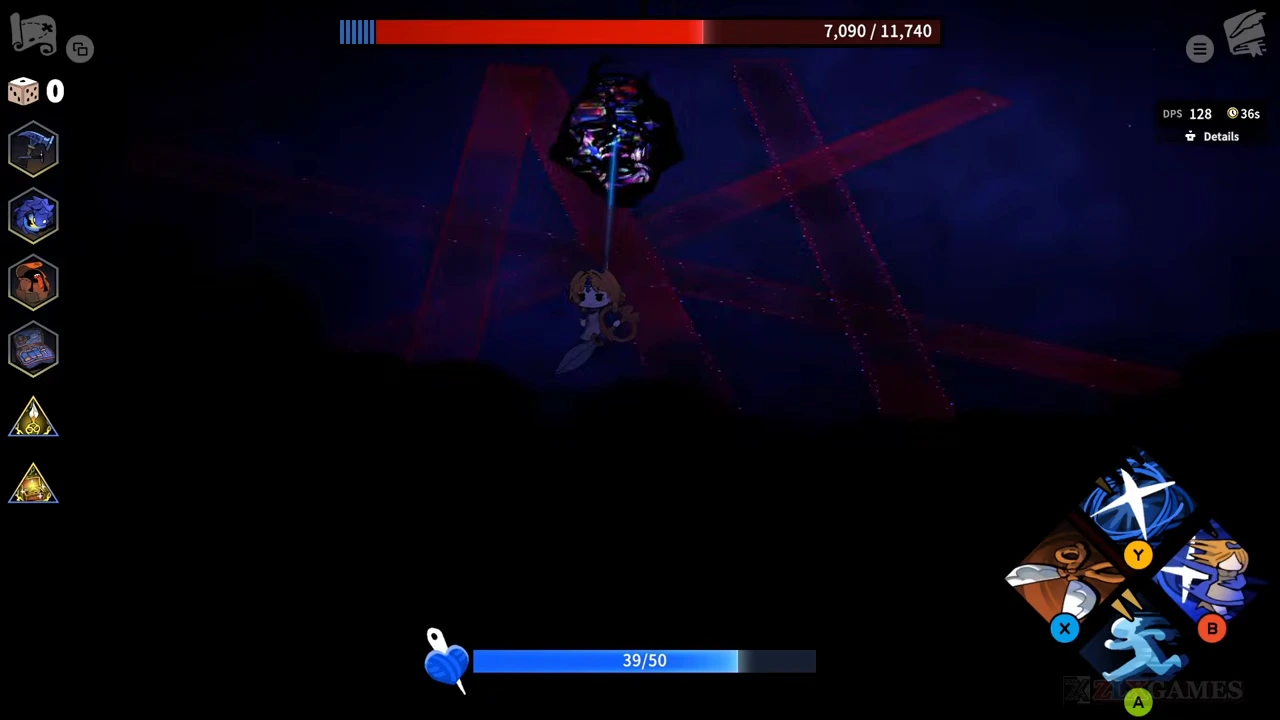
Nahatra is named in the dialogue before this dream-arena encounter. Its pattern sequence includes bright circular waves followed by intersecting red lanes and purple beams. Moving successfully through the ring sequence does not mean the same path remains safe when the lines appear.
After each wave, look again before chasing the target. When straight warnings overlap, move into an unpainted gap rather than following a lane toward the boss. Resume attacks between resolved hazards, keeping enough attention on the floor to change direction for the next pattern.
The images are from the early story encounter. They are not a map of every later form, Epilogue 3 sequence or Challenge modifier.
Maydel’s swamp: respect the guardian’s ring and side sector
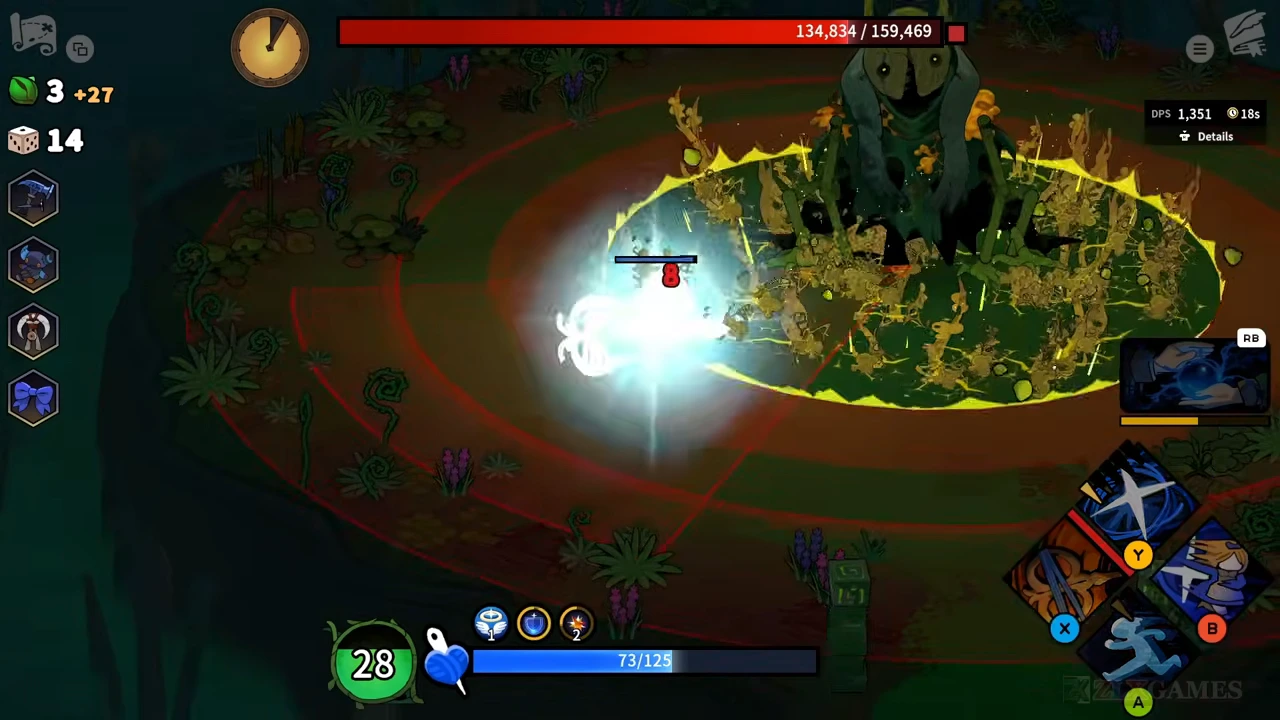
The Epilogue 1 swamp guardian shows a broad ring around its body and smaller directional sectors during its attack sequence. The 3:46:50 image captures a hit while Sil is within the dangerous area. Shortly afterward, a side sector appears and the player moves away across it.
For the ring, move out of the marked band instead of holding an attack beside the guardian. For the side sector, look for the unpainted side and stop your combo early enough to reach it. Recheck the ground after moving: another ring or sector can replace the one you just escaped.
The end of this attempt loses health, reaches a results screen and returns to Maydel. It is useful evidence of the hazards and failure position, not proof of a guardian kill or a perfect clear. Do not copy its damage-first positioning as a survival route.
Use your build to support the movement you need
If a long charge repeatedly traps you in a warning, shorten or release it while you move, then rebuild the attack after the hazard. If one movement skill lands you in a second marked area, aim for a different destination on the next cycle. Change the action that caused the exposure before assuming the solution is simply more damage.
Use the spell guide for the actual input condition of Counter, charge skills and follow-ups. Challenge settings belong to a separate preparation step; do not transfer an assumed dash or damage window from these story examples into a different modifier set.